
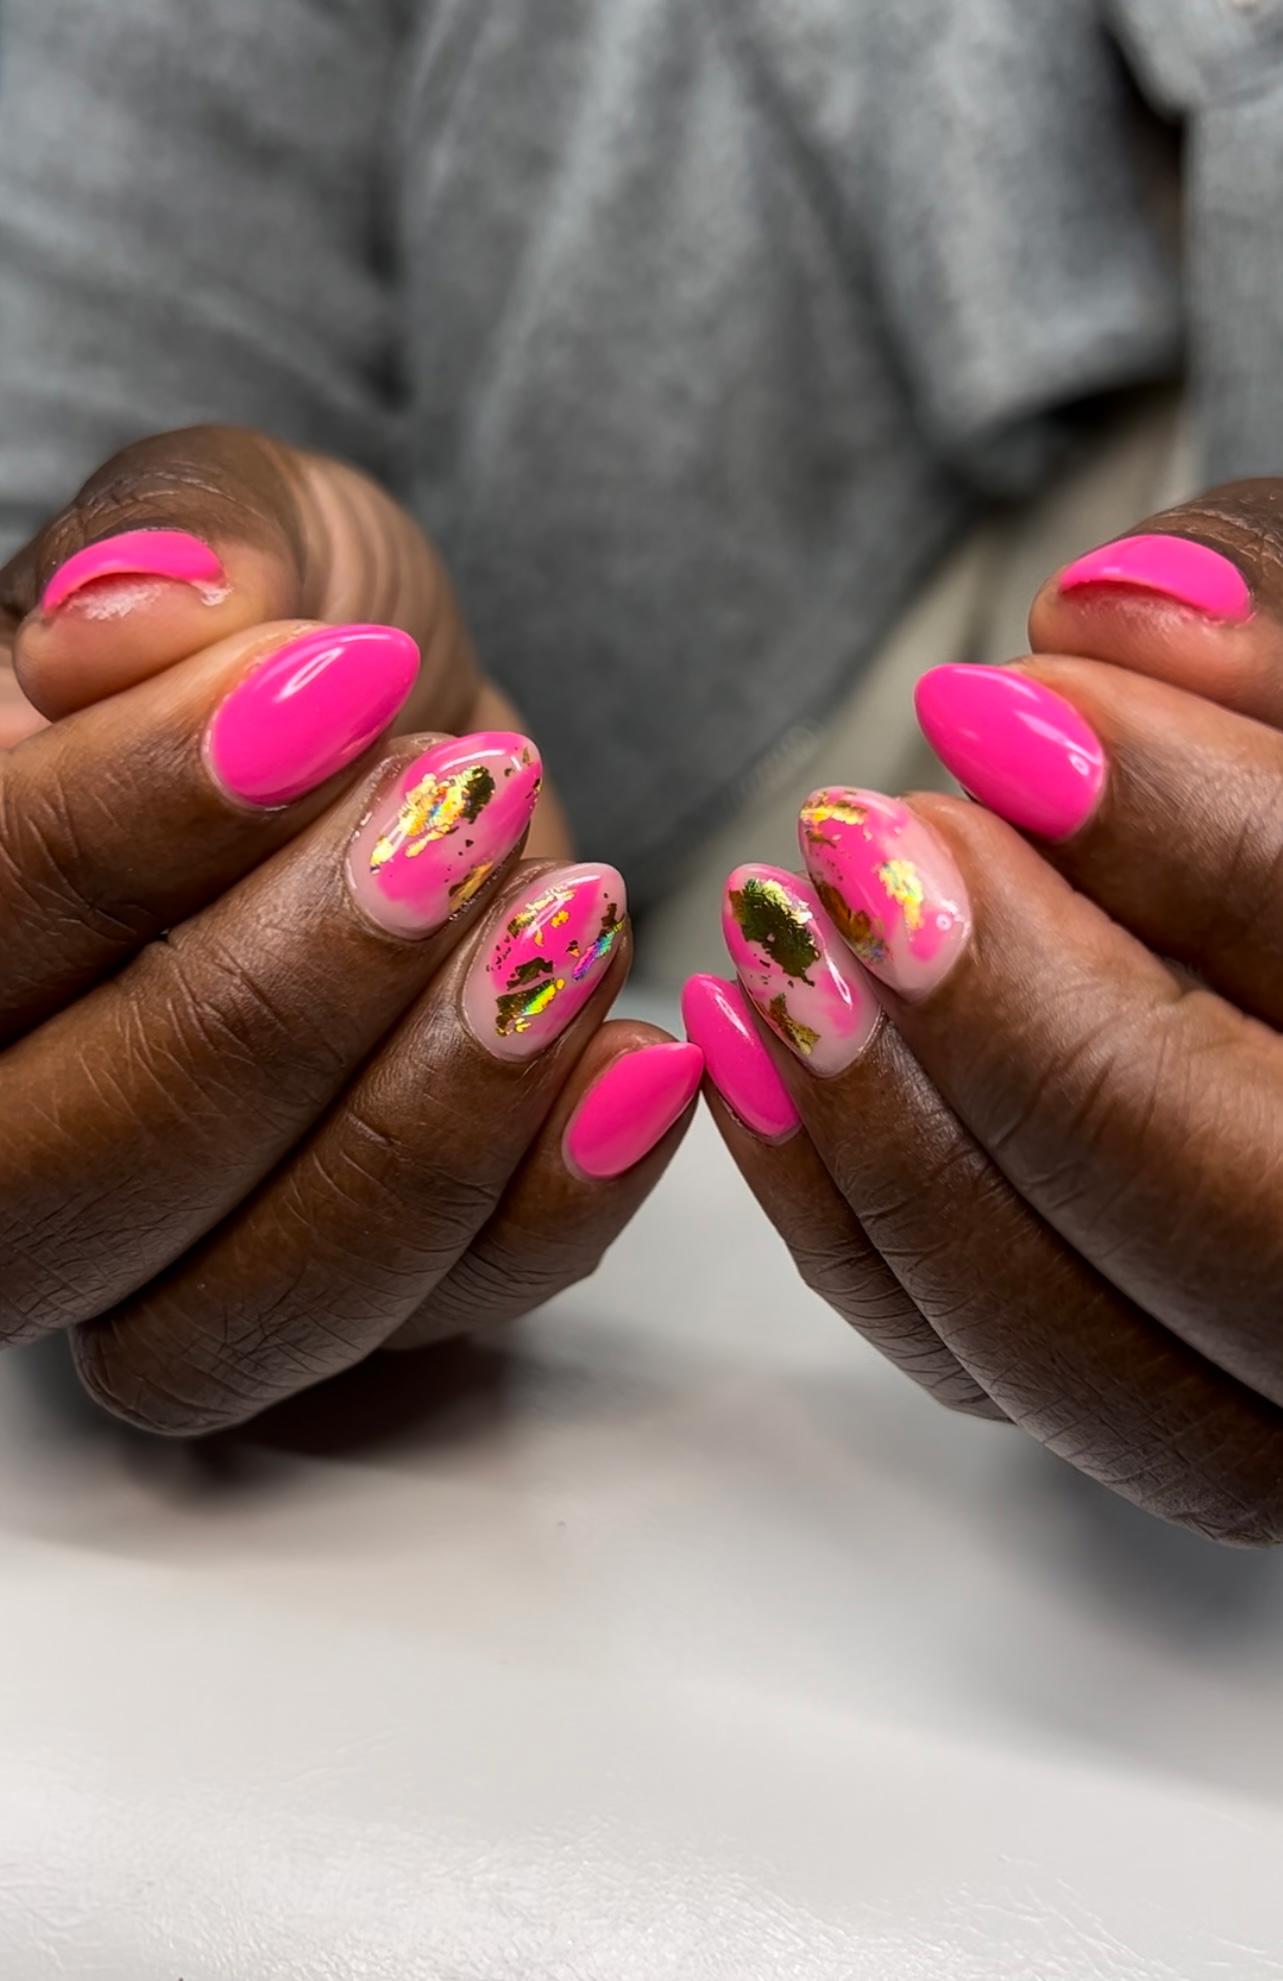
Gel Nail Services
We care about the health of your natural nails!
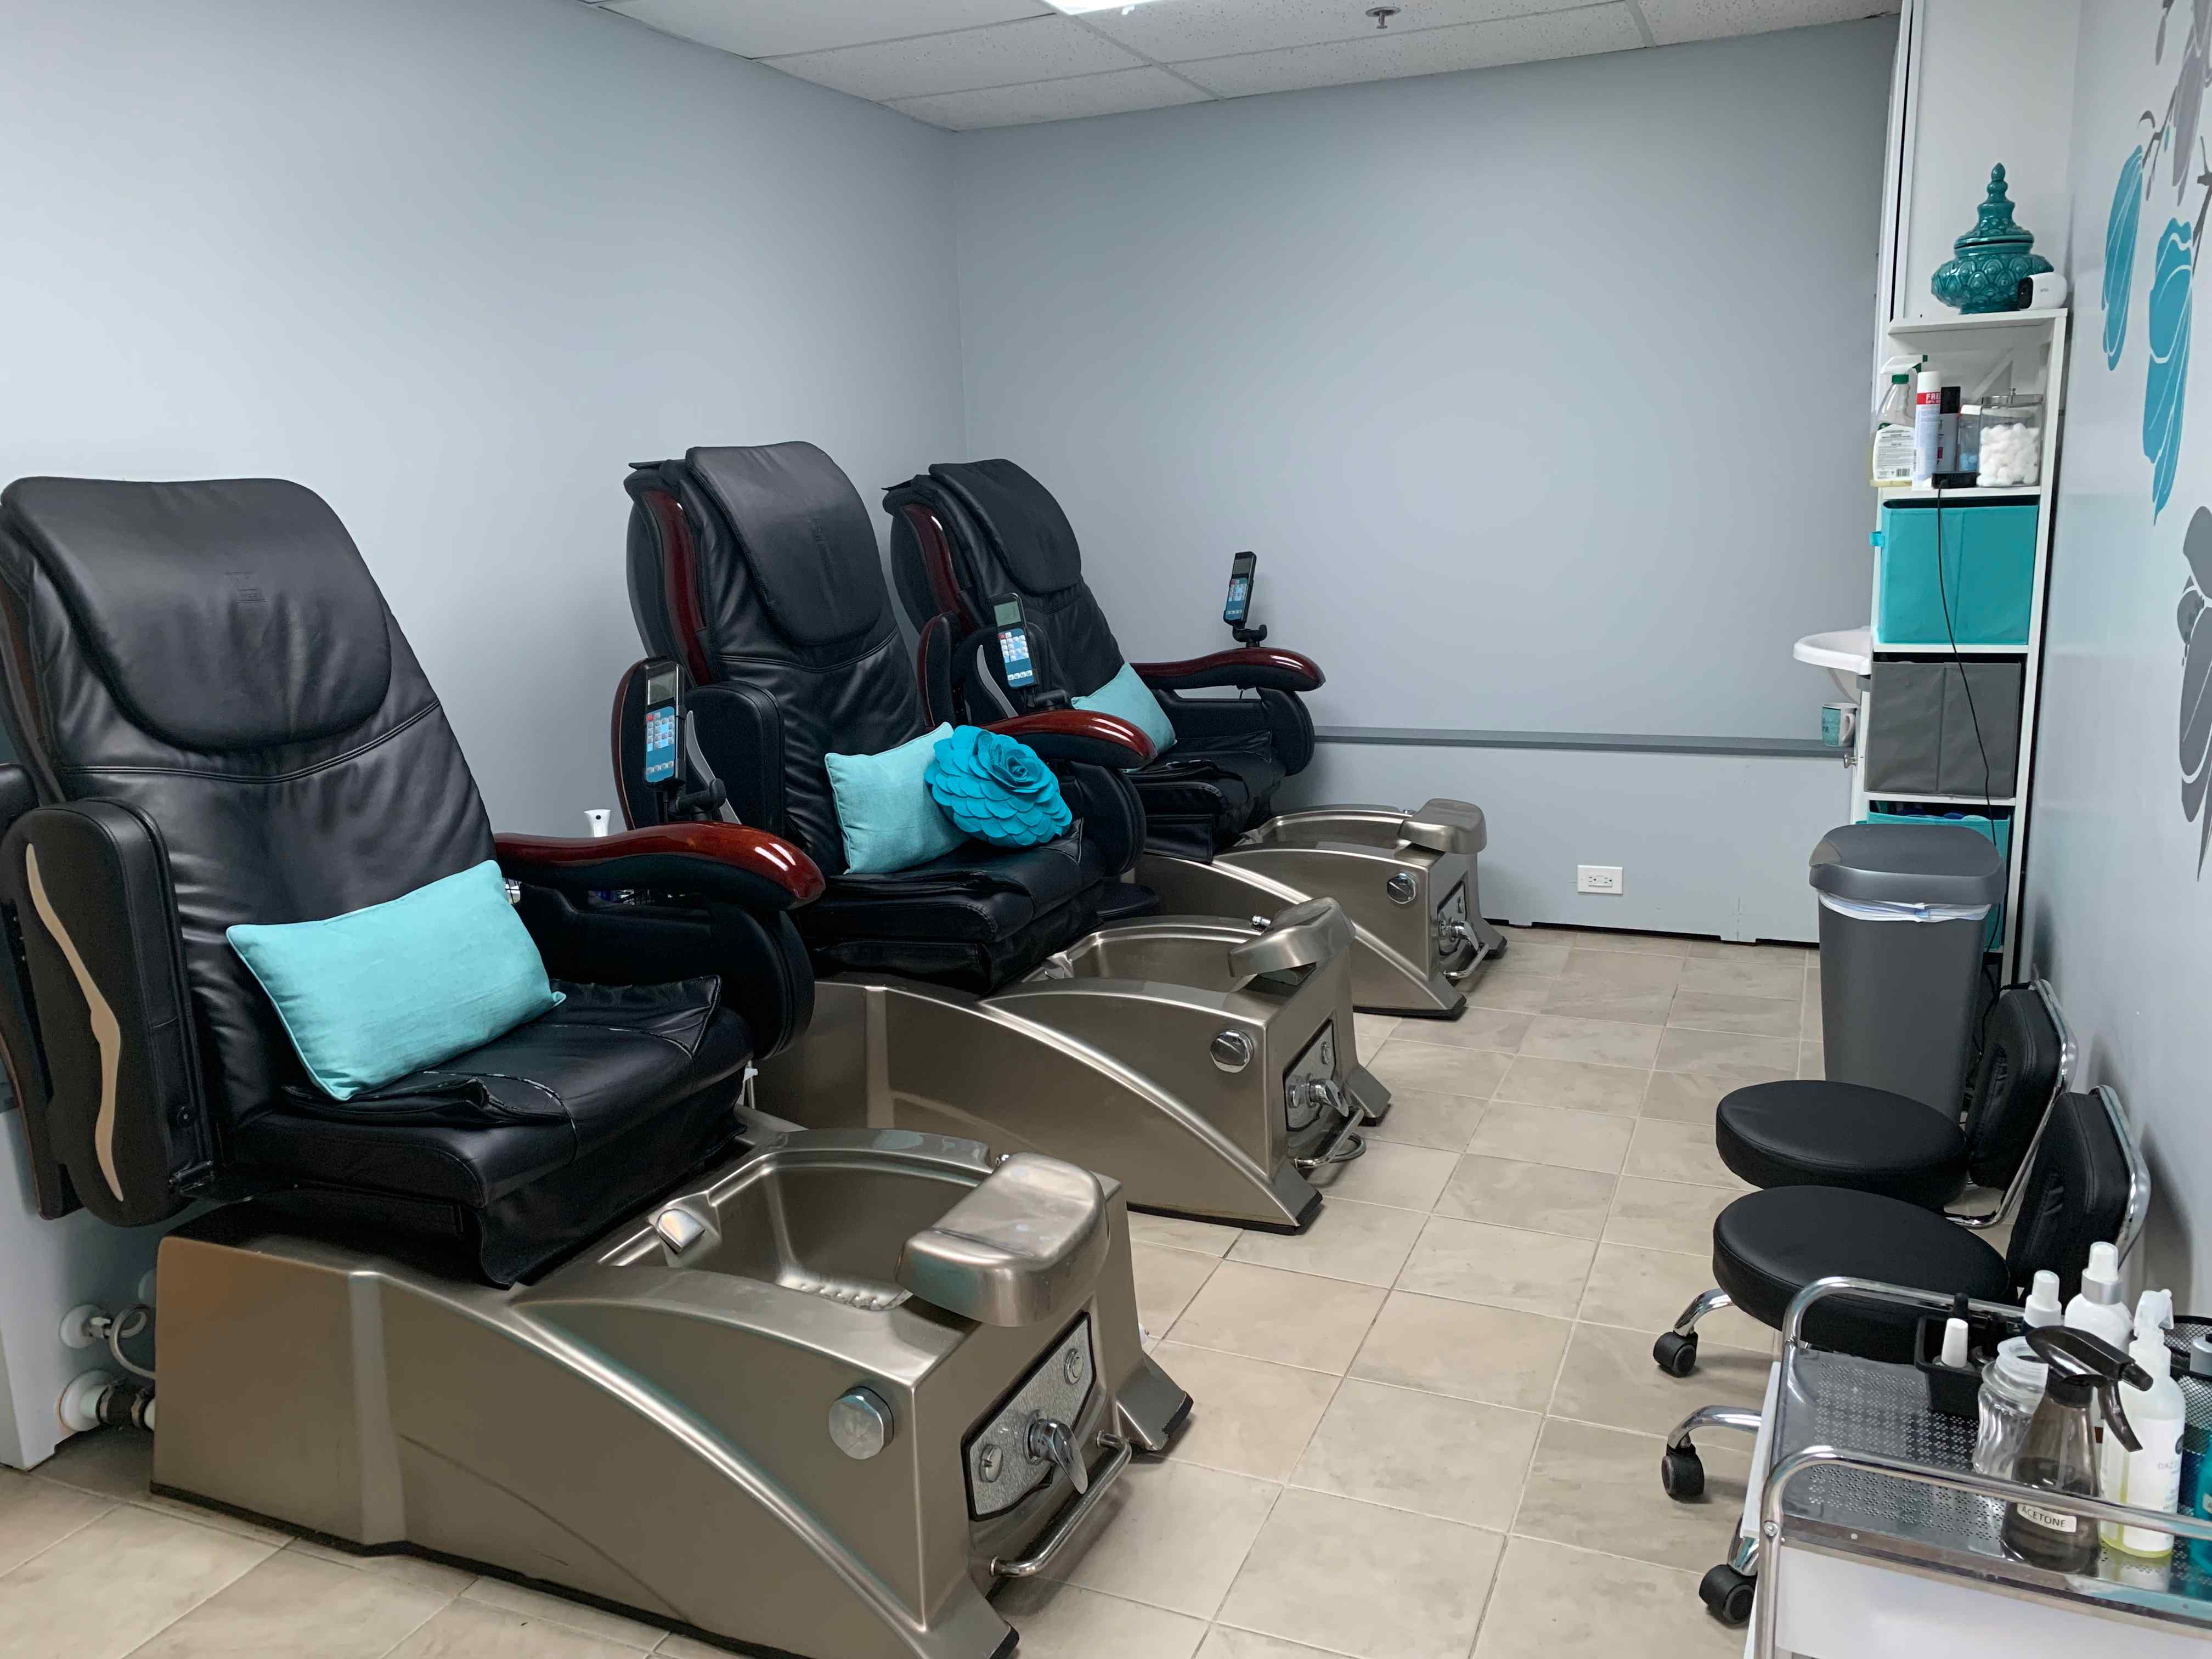
Relaxing Pedicures
Sit back, relax and enjoy a foot soak & full service pedicure.
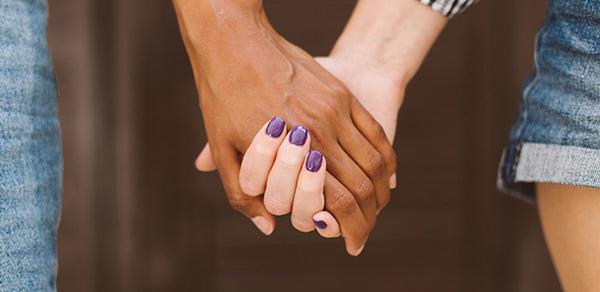
Friendly Environment
Chickettes is an inclusive salon and safe environment!
We care about the health of your natural nails!
Sit back, relax and enjoy a foot soak & full service pedicure.
Chickettes is an inclusive salon and safe environment!